
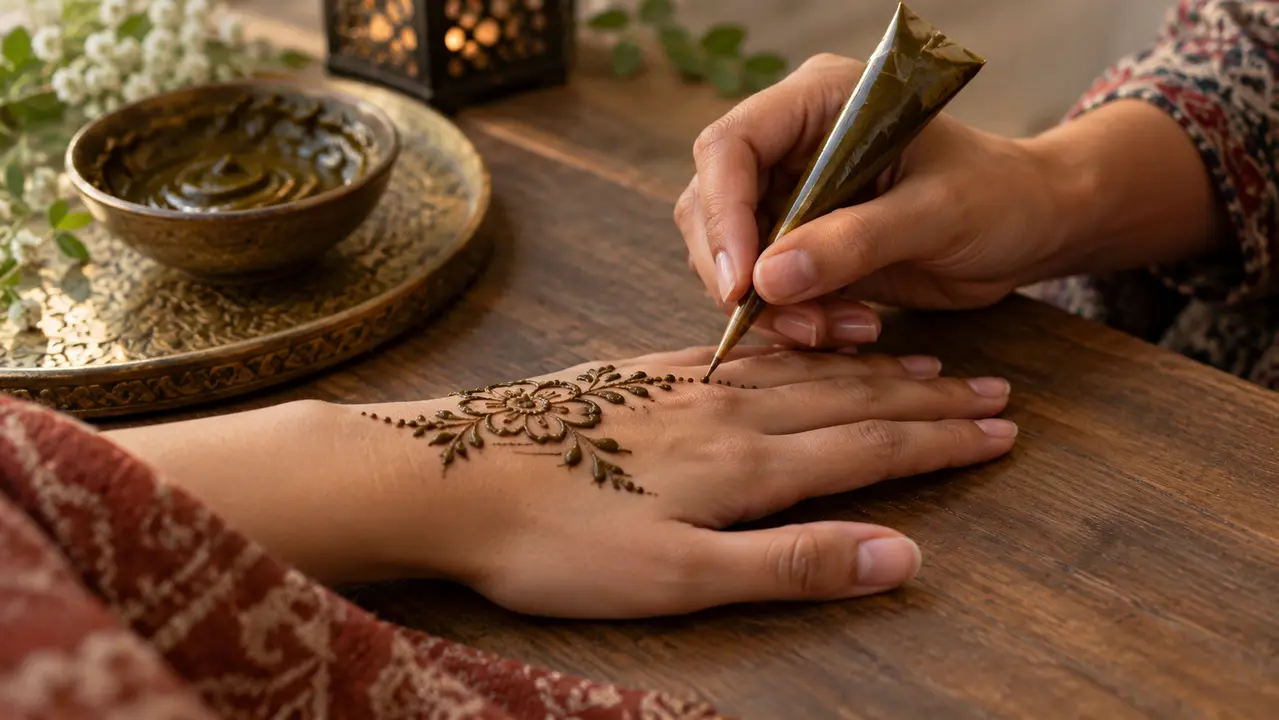
Learn how to prepare your henna cone, control the flow, draw even lines and correct the most common mistakes.
Contents
- Before opening the cone: three useful checks
- Opening it neatly and controlling the amount of paste
- The technique: hold, squeeze, move
- Building a clear design in four steps
- Common mistakes and how to fix them
- Moving from paper to skin without skipping steps
- A three-session mini practice programme
Before opening the cone: three useful checks
First check that the product is intended for skin application, that the packaging provides the necessary information and that the paste has a usable consistency according to its instructions. A leaking cone, a damaged tip or illegible instructions are not a good starting point. Prepare a protected sheet for practice, a cloth for wiping the tip and a stable work surface.
Next, look at the design you have chosen. For beginners, a small five-petalled flower or a simple branch is more useful than a photograph of a completely decorated hand. You can measure your progress in line consistency, spacing and pressure control. Finally, support your arm so that your shoulder is not tense. A comfortable position makes a considerable difference to precision.
Opening it neatly and controlling the amount of paste
Depending on the model, the tip may be sealed or covered by a protective cap. Follow the instructions first. If the cone needs cutting, make a very small, clean opening; it is easier to enlarge a hole gradually than to repair a tip that has become too wide. Then draw a few lines on your practice surface.
If nothing comes out, do not squeeze forcefully. Check the opening and the condition of the paste. If a large blob forms, stop, clean the tip and reduce the pressure instead of speeding up. The goal is an even flow, not the greatest possible quantity of product. This simple distinction helps prevent flattened lines and smudges.
The technique: hold, squeeze, move
Hold the cone steadily without tensing your entire hand. Your thumb and fingers control the pressure while your wrist guides the design. Some strokes are made with the cone fairly upright, others at a slight angle: the essential point is to lay down a line without flattening the paste. Move at a moderate, steady speed.
For a straight line, focus mentally on the endpoint and keep moving continuously. For a curve, rotate your wrist slightly instead of stopping the flow several times. For a dot, apply brief pressure and then lift the tip cleanly. On paper, try ten identical dots and five curves: the exercise quickly shows whether you are squeezing too hard.
Remember: before trusting a promise or a photograph, always check what kind of product it is and what you want the design to achieve.
Building a clear design in four steps
First draw a reference line or a small circle. Add the main element, such as a flower, followed by leaves or branches. Finish with a few accent dots. This order helps maintain proportions. If you immediately fill every empty space, restoring balance will be harder.
A harmonious design needs room to breathe. On a narrow wrist, leave space between elements. On the back of the hand, take joints and movement into account. Learning to draw is not a race: ten minutes of clean lines is more useful than a large composition completed in a rush.
Common mistakes and how to fix them
A line that spreads may result from an opening that is too wide, excessive flow, unsuitable consistency or movement that is too slow. A broken line may be caused by uneven pressure, a blocked tip or poorly flowing paste. If dots turn into commas, lift the cone more decisively after each squeeze.
For a paper practice exercise, correct freely. On skin, do not try to hide every mistake by thickening the design: it may become heavy-looking. Depending on the preparation and the stage of application, immediately removing a small mark may be possible, but follow the product advice. Our guide to smudging examines these causes in greater detail.
Moving from paper to skin without skipping steps
Protected paper helps you become familiar with the cone, but it does not reproduce exactly how skin behaves. Start even smaller on the body. Choose a clean, healthy, dry area. Do not draw on irritated skin. Follow the application time and instructions specific to the formulation you bought; not all ready-to-use pastes behave like homemade Lawsonia inermis paste.
If you want to learn faster, photograph successive attempts in natural light, always from the same distance. Differences in line thickness and your progress will be easier to see. The best habit is not to accumulate products, but to understand what your hand is doing before changing applicators.
A three-session mini practice programme
Session 1: ten straight lines, ten curves and ten dots. Aim for repetition, not speed. Session 2: three identical five-petalled flowers and a border of small leaves; compare the spacing. Session 3: a composition the size of a small bracelet, with a central flower and two secondary motifs.
Before each session, photograph the empty surface and then the finished result. You will see more clearly what is improving. This practice helps you tell a flow-control problem from a composition problem. If your pressure is consistent but the design is still confusing, work on organising the motif rather than switching cones.
Frequently asked questions
How should I cut the tip?
Start with a tiny opening only if the model requires cutting. Test the flow and enlarge it if necessary.
Why does the henna come out in a big blob?
Too much pressure, an opening that is too large or paste that is difficult to control may be responsible.
Can I practise on paper?
Yes, on a protected sheet. Paper helps you learn the movements, not predict the exact result on skin.
Should I squeeze continuously?
Even pressure is useful for lines; dots and stopping points require precise release.
When should I attempt a real design?
When you can repeat neat dots and curves and know the product's instructions.
Further reading
Sources and references
- Kew — https://powo.science.kew.org/ (for relevant background; not to be interpreted as commercial endorsement)
- FDA — https://www.fda.gov/cosmetics/cosmetic-products/temporary-tattoos-hennamehndi-and-black-henna-fact-sheet (for relevant background; not to be interpreted as commercial endorsement)