
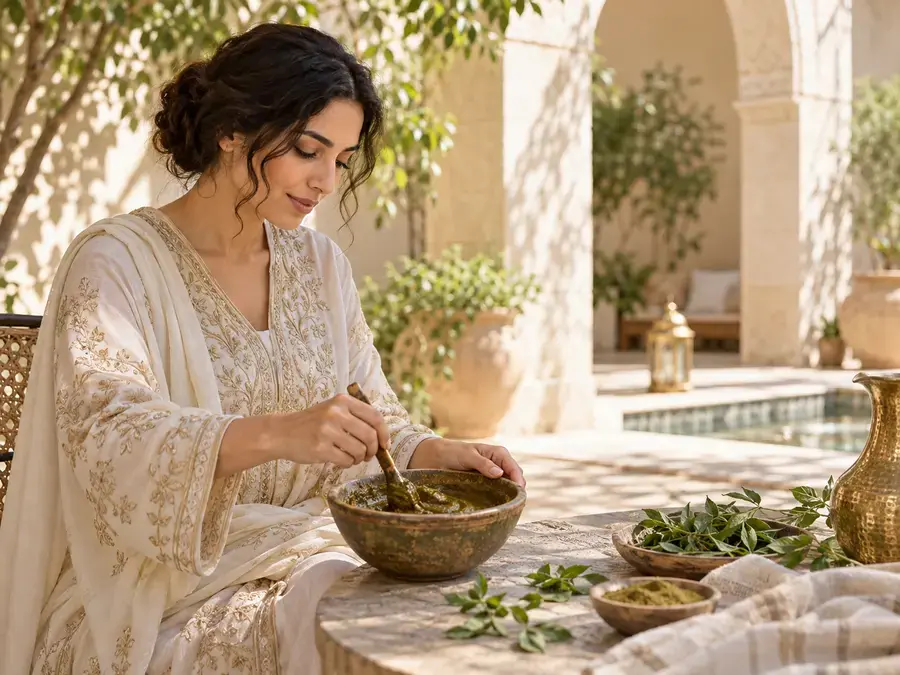
Preparing your own paste helps you understand the material you are drawing with. The aim is not to follow a magical recipe, but to obtain a preparation suited to the product being used and the lines you want to create.
Choosing the Right Material
Everything begins with a clearly identified powder, intended for the use you have in mind and fine enough for an applicator. Read the ingredients and the manufacturer's instructions. A hair mixture containing several dyes should not be treated as pure mehndi powder. Prepare a small quantity for your first attempt: you will learn more by observing a modest amount than by wasting an entire packet.
Understanding the Role of Liquid
Liquid hydrates the powder. Depending on their practices, some people add sugar to alter how well the paste holds. There is no universal ratio that works with every powder: fineness, moisture content and other ingredients all affect the result. Gradually add the ingredients specified in the product's recipe, then check whether the mixture becomes uniform. Avoid improvising with essential oils, especially when preparing something that will be applied to the skin.
Recognising a Workable Consistency
Paste suitable for drawing should flow steadily from the applicator. If it is too thick, you have to squeeze hard and the lines break; if it is too runny, it may spread. The best test is to draw trial lines on a suitable surface and see whether they hold their shape. This observation is often more useful than comparing the texture to a food.
Why Timing Matters
Some preparations require a resting period and careful temperature control; other ready-to-use products come with different instructions. Follow the directions for the formulation you are using. If you want to learn how to handle a pre-filled cone, our earlier guide, “How to Use a Henna Cone”, remains our detailed tutorial.
A Preparation to Test Before Attempting a Large Design
If you are new to henna powder, start by preparing a very small quantity using a documented method suited to the product. Check whether the paste is uniform and whether it flows consistently through your chosen applicator. Very runny paste spreads; overly compact paste is difficult to draw with. Its behaviour may change over time, but there is no single resting period that works for every formula. Make a note of what you used so you can understand the differences between two attempts instead of changing four variables at once.
Before Mixing: The Checklist That Makes a Difference
Consistent results start before the first drop of liquid is added. First, check that the packet is clearly identified: botanical name if it contains pure henna, ingredients, intended use, instructions and date. A packet labelled “henna” may contain a pure colouring powder, a plant-based hair mixture or a cosmetic formulation with added ingredients. These products are not interchangeable. For drawing on skin, the intended use matters just as much as the powder's fineness.
Next, arrange your equipment on a clean table: a small container, spatula, the liquid specified by your chosen method, a lid or protective film, and a surface for testing. Preparing fifteen or twenty grams when learning a technique is often more sensible than mixing the entire packet. The precise quantity is not a safety rule; it is simply a way of observing changes without waste.
Key point — Good paste starts not with a viral recipe, but with a clearly identified powder and a method suited to its formulation.
What Water Actually Changes
The powder contains tiny plant particles. Liquid hydrates them, turning the mixture into a substance that can flow through a cone. Two things must be distinguished: hydration, which can be seen immediately, and the development of colouring ability, which then depends on the mixture, time and temperature. A smooth, flowing paste is therefore not necessarily ready for drawing.
A common mistake is to judge the preparation within the first few seconds. Powder may continue to absorb liquid after mixing, and the texture may change while resting. It is better to record its behaviour at several stages rather than constantly making large adjustments with water or powder. If the brand provides a specific procedure, it should take precedence over habits picked up online.
Sugar is sometimes used to change the flexibility and adhesion of homemade paste. Its effect, however, depends on the formula and the surrounding conditions. Adding a lot of sugar does not automatically improve line quality. Essential oils, meanwhile, are not necessary when learning: their composition and concentration matter for skin tolerance. Do not turn an improvised recipe into a promise of “risk-free natural henna”.
Table: Understanding Four Texture Problems
| What you notice | What it may indicate | Useful first check |
|---|---|---|
| The line breaks | Thick paste, particles or a blocked tip | Check fineness and the cone opening |
| The line spreads | Paste is too runny or the surface is unsuitable | Try a short line on a clean surface |
| The paste comes out in spurts | Uneven mixture or an air pocket | Mix gently and check how the cone is filled |
| A line that initially looks good collapses | Texture is still unstable | Observe the paste after its specified resting period |
This table helps diagnose the material itself. Questions about hand pressure and how to hold a cone are covered in our earlier tutorial, not here.
A Small Test That's Far More Useful Than a Big Recipe
On a demonstration surface, draw five parallel lines of similar length. Look at their width, continuity and how well they hold their shape after a few moments. Repeat after the time specified by the preparation method. If the lines look alike, the consistency appears more stable; if they change noticeably, you have learned something about how the paste behaves. This test does not establish whether a formula is safe for skin: it only assesses how easy it is to handle.
Keep a small notebook: record the powder used, batch number if available, liquid, preparation conditions and observations about texture. Even without striving for perfection, these details allow you to compare two attempts. By contrast, writing down “four spoonfuls of water” without stating the amount of powder gives you a much less useful reference point.
What to Avoid
Do not try to “rescue” an unlabelled powder of unknown origin by mixing it with oils and lemon juice. Nor should you conclude that a paste will be excellent simply because it is very green: the powder's visible colour does not measure how much dye it can release. Finally, do not prepare a large quantity in advance unless you know how to store it. Storage is a separate issue; our preservation guide explains it according to product format.
For a beginner, success is not a mysterious formula reproduced to the nearest gram. It is a paste of known origin, sufficiently uniform to test, whose reactions you understand and whose preparation steps you can repeat.
Frequently Asked Questions
Is there a recipe that works for every powder?
No. Powders have different characteristics and formulations.
How can I tell if my paste is too runny?
It tends to spread rather than forming a clean line.
Do I have to add an essential oil?
No, it is not required; do not improvise a formula intended for skin.
Sources and References
- Kew Science — Lawsonia inermis: https://powo.science.kew.org/taxon/urn%3Alsid%3Aipni.org%3Anames%3A553638-1
- FDA — Temporary Tattoos, Henna/Mehndi, and Black Henna: https://www.fda.gov/cosmetics/cosmetic-products/temporary-tattoos-hennamehndi-and-black-henna-fact-sheet