
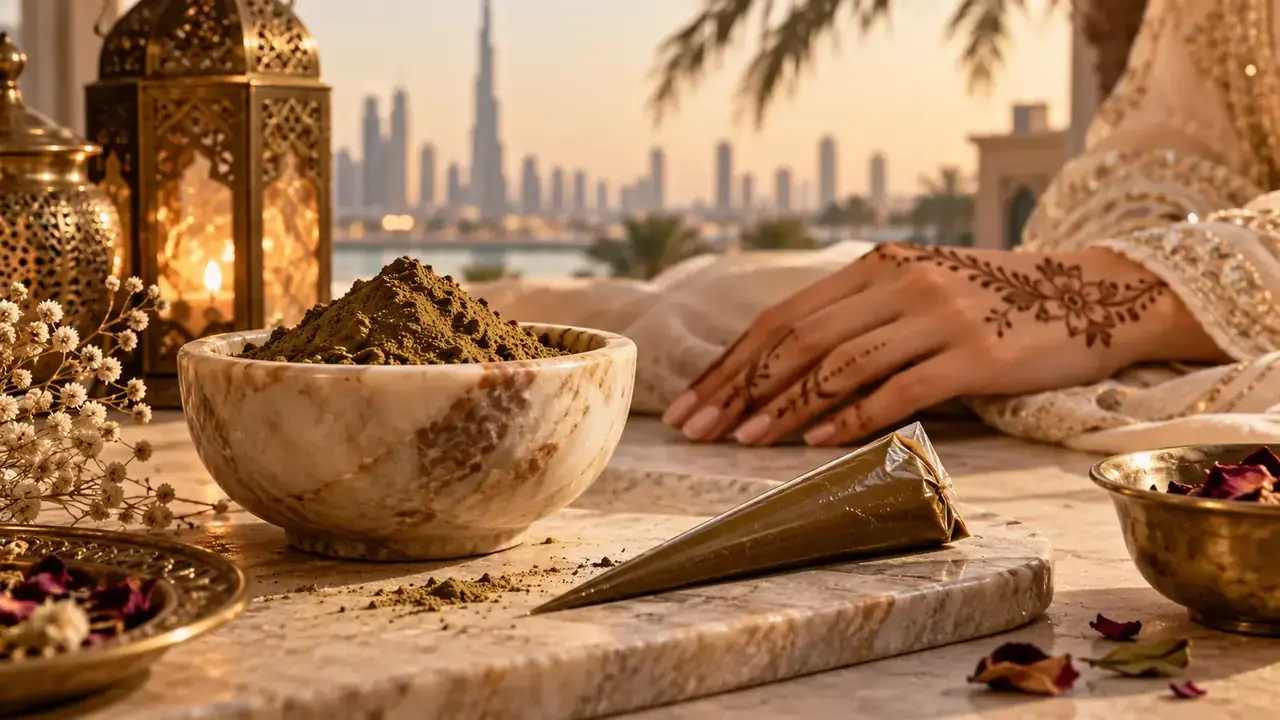
Before you start: what result do you want?
A mini-drawing on a finger, a bracelet on the wrist and a composition covering both hands do not require the same preparation. For a first try, ask yourself three questions: do you want a very fine pattern or a more visible one? How much time do you have ahead of you? Do you prefer to prepare the paste or go straight to drawing?
If you like to discover the ingredients and the preparation, the powder may appeal to you. If you especially want to work on your gesture, a cone adapted to decorating the skin may be more practical. And if you are preparing for an event, it is better to do a test well before the planned day: the final shade is not always visible immediately.
A detail often forgotten: also look at where the drawing will be placed. Coloring may vary depending on areas of the body. An idea seen on a palm will not necessarily give the same intensity on a forearm.
Powder, paste and cone: three ways to approach henna
Powder, to discover the material
The powder is obtained from dried and crushed henna leaves. It allows you to prepare a paste, but not all powders sold under the name henna have the same use. A powder intended for hair, for example, is not automatically suitable for fine lines on the skin.
For decoration, the fineness of the powder matters: a material containing coarse particles can make tracing more difficult. The composition and instructions of the product are just as important. Do not improvise the addition of concentrated essential oils or ingredients whose use on the skin you are unaware of.
The paste, to focus on its texture
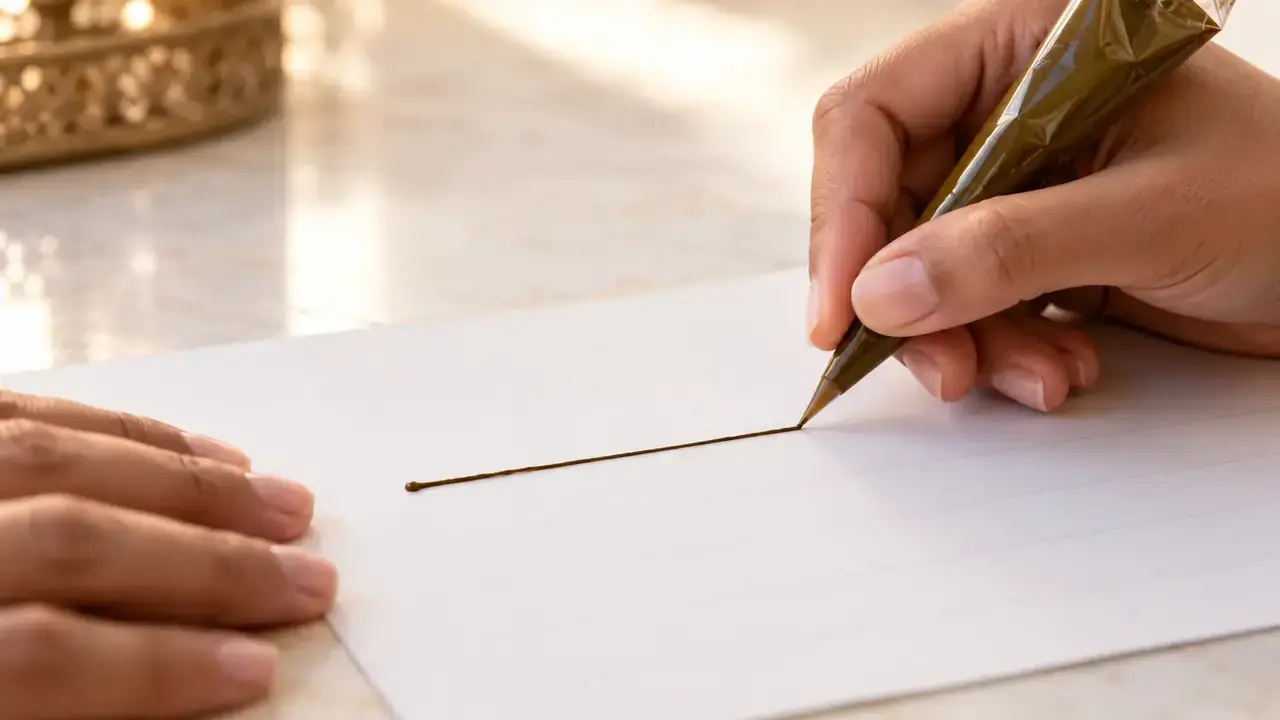
The paste is the mixture that is placed to draw. Its texture should allow you to control the line: flexible enough to come out of the applicator, stable enough not to flow everywhere.
Imagine a line on a test sheet: if the material comes out in clumps, the drawing becomes difficult to follow; if it spreads as soon as it hits the support, the small details lose their shape. This observation is useful, but it is not enough to judge the quality or safety of a dough: its composition and its conservation remain essential.
The cone, to guide the gesture
The cone is a flexible pocket ending in a point. The pressure allows the paste to be deposited in lines or dots. There are very different sizes, materials and preparations. The prettiest cone in the photo is not necessarily the most pleasant to use.
Before choosing, look above all at the destination of the product, its composition, the expected fineness of the line and its conservation instructions. For the differences between brands and models, consult our dedicated comparison rather than relying on the name printed on the packaging.
The right workplace changes everything
No need for a large professional table. A clean surface, clear light and a comfortable position already make a difference. If you draw on someone's hand, steady their hand. If you are training alone, choose an appropriate support before working on the skin.
Also provide a small area to place the cone, clean accessories and something to handle a possible blunder without running around looking for materials in the middle of the drawing. A nearby inspiration photo can help, but it should remain a model, not an obligation to copy line for line.
Preparing the skin also matters: on clean, dry skin, contact with the paste is easier. A very greasy cream applied just before the pattern can prevent regular contact. Avoid irritated or damaged areas and follow the manufacturer's instructions.
The main stages of an application, without making things complicated
1. Choose a suitable pattern
Start with a drawing that suits your time and comfort. Clean lines and regular spaces are often more elegant than an accumulation of small, poorly controlled details.
2. Check equipment and preparation
Read the composition, intended use and conservation instructions. A ready-to-use preparation does not necessarily have the same storage conditions as another. Don't assume that a cone remains usable indefinitely because it appears closed.
3. Position the hand or area to be decorated
Stability facilitates clean movement. Good light prevents you from going over the contours unnecessarily. On a first project, it is better to work calmly than to want to finish quickly.
4. Apply the design, then leave the paste to work
The paste forms the pattern on the surface of the skin. The contact time required depends on the preparation. Follow the product instructions; a single duration given on the Internet is not suitable for all formulas.
5. Observe the color after removal
With natural henna, the initial result can be orange then evolve towards a deeper brown over the following hours. It's therefore normal not to immediately find the shade of the photo that inspired you.
How do you know if your first try is going well?
A good attempt does not necessarily mean a perfect drawing. Instead, look to see if the pattern remains legible, if the lines do not blend into each other and if the whole corresponds to the desired effect.
If you find the color too light, don't jump to the conclusion that the preparation was bad: the color can still change, and certain areas of skin color less intensely. Our guide “Why doesn’t my henna color? » examines the possible causes one by one.
If your line is too broad, there is no need to immediately blame your drawing style. The opening of the cone, the texture of the paste and the pressure play together. The tutorial “How to use a henna cone?” » allows us to explore these gestures in greater depth with a detailed method.
Choose without being impressed by promises
There are cones that promise a very dark color in record time, powders presented as “professional” and mixtures with sometimes vague names. The most useful thing is to understand what you are buying.
The color of natural henna on the skin is usually orange to reddish brown. A product that announces immediate intense black should draw your attention to its composition. Some preparations marketed as “black henna” contain PPD, which is associated with significant allergic reactions. There is no need to turn this creative activity into a source of worry: just check the product information and choose a preparation suitable for the skin.
From the first attempt to more refined designs
You can progress at your own pace. One day you might like thin bracelets. Another, you will prefer a larger floral pattern or a style linked to a party. The hardware does not need to be complicated to support this evolution.
The main thing is to distinguish three things: the material you use, the way you apply it and the design you want to obtain. When these basics become clear, henna seems much less mysterious.
FAQ — Preparing and applying henna
Should you prepare your own paste to start?
No. A preparation suitable for the skin, already ready to use, can be a good starting point. Preparing your dough becomes interesting if you want to explore this step in its own right.
Does thicker paste give a darker drawing?
Not necessarily. Line thickness and final intensity are two different things. Formulation, skin contact and other factors also play a role.
Can you use any henna powder on your hands?
No. Check that the preparation and its instructions are suitable for the intended application to the skin. A powder sold for hair is not automatically suitable for mehndi.
Should you leave the paste for several hours?
There is no universal duration: follow the instructions specific to the product and its preparation.
Why is the pattern orange at first?
With natural henna, this is common. The tint may become browner within 24 to 48 hours after removing the paste.
Can a cone allow you to draw very fine patterns?
Yes, some cones allow delicate lines, but the result also depends on the opening, the paste and the control of the gesture.